


Why Your Room Feels Overlit and the Circuit, Dimmer, and Fixture Strategy That Fixes It
Last Updated:
August 16, 2026
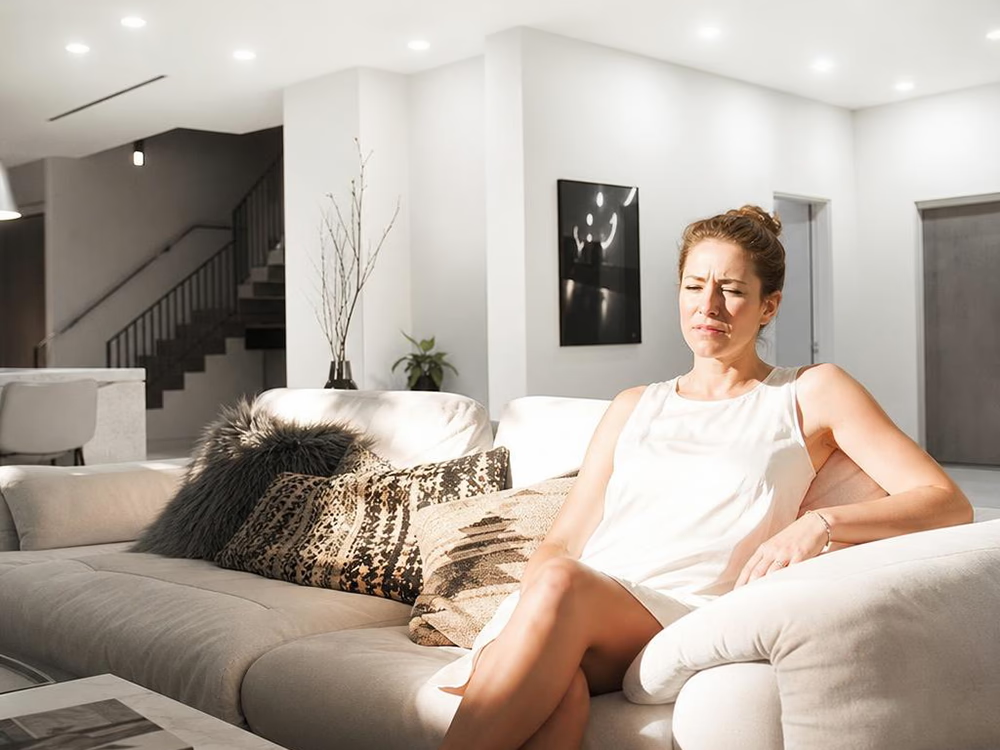
A room feels overlit for a specific reason: the light comes from a single plane (the ceiling) at uniform intensity, with no shadows, no variation, no depth. The eye registers this as institutional rather than residential. It's the same quality of light as a supermarket or a hospital corridor, and the brain responds accordingly.
The fix is not simply a dimmer switch. A dimmer on a bad lighting plan gives you a dimmer version of a bad lighting plan. The fix starts with how the circuits are planned, where the fixtures are placed, and what they're doing to the surfaces they hit.
This is the framework for a lighting plan that feels considered rather than excessive.



Recessed can lights are the most over-specified fixture in residential design. They're clean, they disappear into the ceiling, they feel like a safe default. When installed in grids across an entire room, they produce a flat, uniform wash that removes all shadow and dimension from the space.
Shadow is not a lighting failure. It's how a room reads as three-dimensional. When every surface is evenly lit from above, walls flatten, furniture loses weight, and the space reads as a rendering rather than a room. Too many recessed downlights also create what designers call the Swiss-cheese ceiling problem: a ceiling visually perforated by rings of trim that draws the eye upward to an expanse of holes rather than receding quietly.
The recessed downlight has a legitimate role in a layered lighting plan. It is not a substitute for one.
A room that works has at least two of these three layers active at any given moment, and the ability to adjust each one independently.
Ambient light is the base layer, general fill that lets you navigate the room. Ceiling fixtures, recessed lights, or cove lighting. This is where most rooms stop, and why most rooms feel flat.
Task light is directed and purposeful: under-cabinet lighting in the kitchen, a reading lamp at the chair, a sconce at eye level in the bathroom, rather than a downlight aimed at the top of your head. Task light goes where you need to see clearly.
The accent light layer is the one most homeowners skip, and most designers insist on. It's the light that hits a wall, grazes texture, washes a bookshelf, or catches the face of a fireplace. Accent light is what creates depth. It's also the layer that most visibly separates rooms that feel designed from rooms that feel generic.
The principle: every room in active use should have at least two independently controlled layers of lighting. A living room with only a ceiling fixture and no option to switch to a lower, warmer source is one that can only be "on" or "off."
Most electricians wire lighting circuits based on code minimums and load calculations. Most homeowners treat it as an afterthought. Circuit planning is actually the most important design decision in a lighting scheme. This plan determines what you can control independently, and independent control is what gives you atmosphere.
Every room should have at least two independently switched lighting circuits, and three is better. The reason is simple: if everything in the room is on one circuit, you have two states (lit and unlit). With two circuits, you can have the ambient layer up and the accent layer on, or the ambient layer dimmed and the task lights on, or only the lower-level lamps active. Each combination produces a different atmosphere in the same room.
A living room done well typically has three circuits: overhead ambient (recessed or a ceiling fixture), accent or architectural lighting (sconces, cove, or uplights), and plug-in lamps if hardwired. Bedroom lighting done well has at least two: general ceiling and bedside or reading sconces. A kitchen typically needs three: overhead ambient, task lighting over the work surface, and under-cabinet or island pendants on their own circuit.
For most renovation work, wiring lighting loads on dedicated 15-amp circuits rather than sharing with outlets is worth the additional cost. Lighting loads are fixed and predictable; outlet loads are not. Keeping them separate means a vacuum cleaner or a countertop appliance won't compete with your lighting load, and a tripped breaker on outlets doesn't take the room dark.
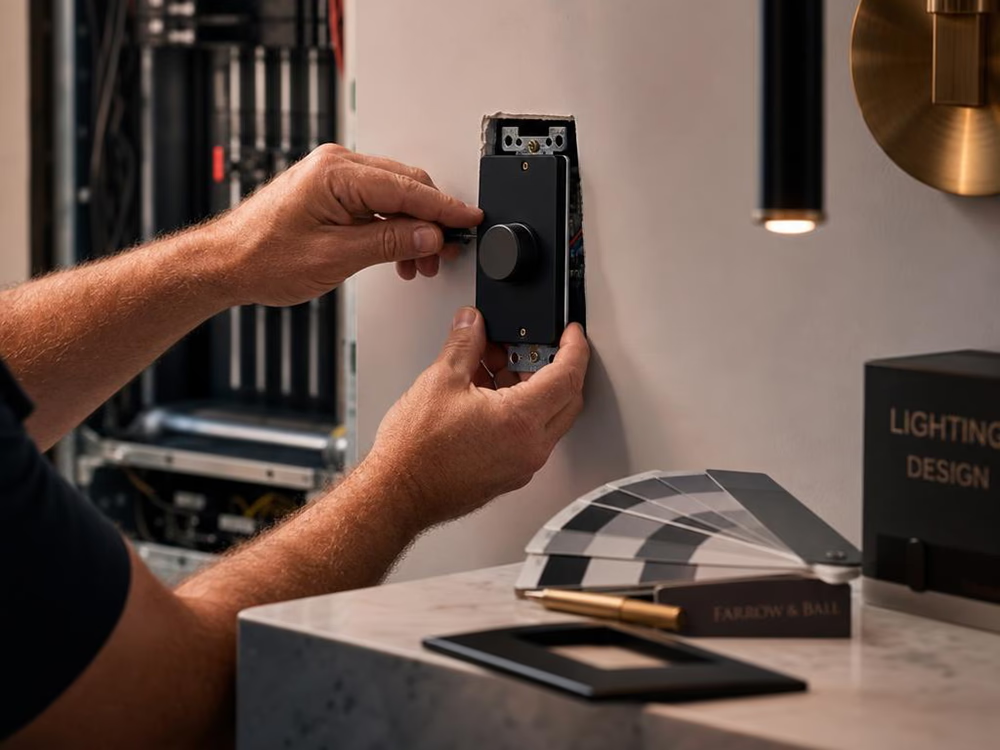
Every hardwired lighting circuit that you want to control atmospherically should be on a dimmer. "We'll add dimmers later" is a renovation mistake. Adding a dimmer after the fact usually means replacing switches and often means revisiting the panel. Wire for dimmers from the start. The marginal cost at rough-in is trivial; the cost of retrofitting is not.
The single most common failure in a new or renovated lighting plan is installing LED fixtures on legacy dimmer switches, or choosing the wrong dimmer for the LED load, and then living with flickering, buzzing, lights that won't turn off fully, or a dimming range that stops at 30% and drops to nothing.
Traditional dimmer switches, called leading-edge or forward-phase dimmers, were designed for incandescent and halogen bulbs that draw 600 watts or more. They work by chopping the front of the AC electrical waveform to reduce power. LEDs draw far less power (often under 10 watts per bulb) and have electronic drivers that respond badly to this kind of interruption. The result is flickering, buzzing, or lamps that glow faintly even when "off". This phenomenon is called ghosting.
Modern trailing-edge dimmers, also called reverse-phase or ELV dimmers, cut the end of the AC waveform rather than the beginning. This produces a smoother signal that LED drivers can handle. The result is clean dimming without audible noise, with a lower minimum load threshold suited to LED wattages.
When specifying or purchasing dimmers for LED fixtures, look for these terms on the packaging: trailing edge, ELV (Electronic Low Voltage), MOSFET, or "LED-rated." Avoid any dimmer labeled MLV (Magnetic Low Voltage) or designed for incandescent/halogen unless the manufacturer explicitly lists your LED fixtures as compatible.
A dimmer has both a maximum and a minimum rated load for LED circuits. The minimum is as important as the maximum. A single 8-watt LED fixture on a dimmer rated for a minimum of 150W will behave erratically at low brightness settings. Check that the total LED wattage on a given dimmer circuit falls within the rated operating range for that specific dimmer-LED combination.
Most manufacturers publish compatibility lists. When specifying fixtures and dimmers together, verify the combination before installation. Fixing a flickering dimmer after the drywall is closed is significantly more expensive than specifying correctly at the start.
Before committing to a dimmer for a new installation:
If you are using recessed downlights, the standard spacing formula is to divide the ceiling height by 2 to determine the distance between fixtures. An 8-foot ceiling suggests fixtures spaced roughly 4 feet apart. This prevents the overlapping pools of light that create a glare field and the excessive spacing that creates dark spots between fixtures.
But the more important rule is not to use recessed downlights as the only fixture type in a room. They are not designed to wash walls. Recessed downlights push light downward, pooling it on the floor. A room lit entirely by downlights reads as a floor with a dark ceiling above it. Using fixtures aimed at vertical surfaces rather than the floor (wall-washing) is what makes a room feel larger and warmer, because reflected light from walls becomes diffuse ambient fill.
Wall sconces do something no ceiling fixture can: they place light at human eye level, creating warmth that reads as residential rather than commercial. A sconce on either side of a bathroom mirror provides a shadow-free task light for grooming. The overhead downlight above a mirror is responsible for more unflattering bathroom lighting than any other single design choice. In a bedroom, sconces flanking the bed eliminate the need for table lamps on small surfaces, and they can be switched independently at a bedside panel.
In a living room or hallway, a sconce provides a middle layer of light between the floor lamp below and the ceiling above, adding visual richness to the space.
These two fixture categories produce the most work for their cost in a lighting plan. Under-cabinet lighting in a kitchen provides task lighting at the counter surface where you actually work, reducing the need for high-ambient overhead light. LED strips under cabinets, purpose-built LED puck and bar fixtures are inexpensive to install and dramatically reduce the feeling of being overlit in kitchens where ceiling lights alone are doing all the work.
LED strip concealed in a recess or ledge along the ceiling perimeter (cove lighting) produces indirect ambient light that bounces off the ceiling and fills the room, with no direct source visible. It's the lighting approach most associated with hotel rooms that feel expensive, and it's simpler to build than it looks. The light source is hidden, the ceiling glows softly, and the room feels calm rather than exposed.
One of the most common sizing mistakes is choosing a pendant fixture too small for the space it occupies. The dining room pendant placement and dimmer strategy is key. A pendant over a dining table should span roughly half to two-thirds the width of the table. Over a kitchen island, a single fixture often displays as underpowered. Having two or three smaller pendants in a row creates better light distribution and more visual proportion.
For standard ceiling heights, pendant height over a dining table should place the bottom of the fixture approximately 30 to 36 inches above the table surface. Over an island where people stand, the standard range is 36 to 42 inches above the counter.
Color temperature is measured in Kelvin (K). This unit describes the warmth or coolness of the light a fixture produces. Residential lighting falls within the 2700-3000K range, which is classified as "warm white." The 300-degree difference between them is both subtle and significant.
2700K is the temperature of a traditional incandescent bulb. It produces a soft, amber-yellow glow similar to candlelight, late-afternoon sun, or a lamp in a reading corner. It is unmistakably warm and intimate. In a room with wood tones, natural materials, or warm paint colors, 2700K enhances what's already there. Its limitation is that at full brightness, it reads slightly yellow, which can affect color perception for tasks that require visual accuracy.
3000K is slightly cleaner and cooler. It's still unambiguously warm, but with less yellow and more neutral white. It's the default for restaurants, hotels, and high-end retail for a reason: it flatters without distorting, reads well on camera, and bridges warm and modern aesthetics equally well. For kitchens, bathrooms, and task-oriented spaces, 3000K provides more color accuracy than 2700K without ever feeling clinical.
Here is a practical room-by-room guide:
Only mix color temperatures intentionally. 2700K and 3000K fixtures visible in the same room create an unresolved, slightly off quality that's hard to identify but immediately perceptible. If you're committing to 3000K throughout, use it throughout. If you're mixing (a warm lamp layer with a cooler task layer), make the separation clear enough that the contrast reads as deliberate.
Before finalizing any lighting plan, work through these decisions in order. A room that follows these principles will feel calmer, more dimensional, and more expensive than its cost. The goal here is maximum control over the light you have, rather than obtaining maximum light.
A living room needs at least two lighting circuits: one for overhead ambient light and one for accent or architectural lighting (sconces, cove lighting, or decorative fixtures). Three lighting circuits are better, with a third circuit dedicated to task areas or plug-in lamp circuits if hardwired. Living room lighting layers give you an on-demand atmosphere. Without them, you have only two states: fully lit or dark.
Almost always a compatibility mismatch. Traditional dimmer switches (leading-edge or forward-phase dimmers) were designed for incandescent bulbs and don't work cleanly with LED drivers. The fix is replacing the dimmer with a trailing-edge (LED-rated) dimmer designed for low-wattage electronic loads. Also, verify that the LED fixture itself is labeled "dimmable."
Both are warm white, and both read as viable solutions for residential lighting. 2700K lighting is warmer and more amber. It’s ideal for bedrooms, living rooms, and any space where intimacy and comfort are the priority. 3000K lighting is slightly cleaner and more neutral. It’s better for kitchens, bathrooms, and task areas where color accuracy matters. If you have to choose one for consistency, 3000K is more versatile and photographs better. The most important rule: don't mix them in the same sightline unless the contrast is deliberate.
The cause is almost always a uniform ceiling-level light field with no variation, shadows, or wall-level sources. The fix involves three things: adding a lower-level light source (sconce, lamp, or cove), reducing the output of overhead lights with a dimmer, and ideally putting overhead and lower-level lights on independent circuits so you can shift from one to the other. A dimmer alone on a poorly planned lighting scheme gives you a dimmer version of the same problem.
You can only add a dimmer if the fixture's bulbs or LED modules are labeled "dimmable." Non-dimmable LED fixtures will flicker or fail on any dimmer switch. If the fixtures are dimmable, replace the switch with a trailing-edge LED-rated dimmer and verify that the total LED wattage on that circuit falls within the dimmer's rated minimum and maximum load range.
Divide the ceiling height by two to get the maximum spacing between fixtures. For an 8-foot ceiling, that's approximately 4 feet between lights. Keep fixtures 2 feet from walls to avoid scalloping. The half-moon shadows on the walls are caused by downlights placed too close to the perimeter. And treat this as a ceiling count maximum, not a design target: fewer well-placed fixtures with other light layers perform better than a filled grid.
A single downlight directly above a bathroom mirror produces top-down shadows across the face, which is the least flattering possible light for grooming. The fix is sconces mounted at approximately eye level on either side of the mirror, which provide even, shadow-free illumination. A backlit mirror is an alternative for a cleaner look. If ceiling downlights are the only option, specifying a wide-beam fixture angled toward the mirror surface rather than aimed straight down reduces shadow intensity.








.svg)